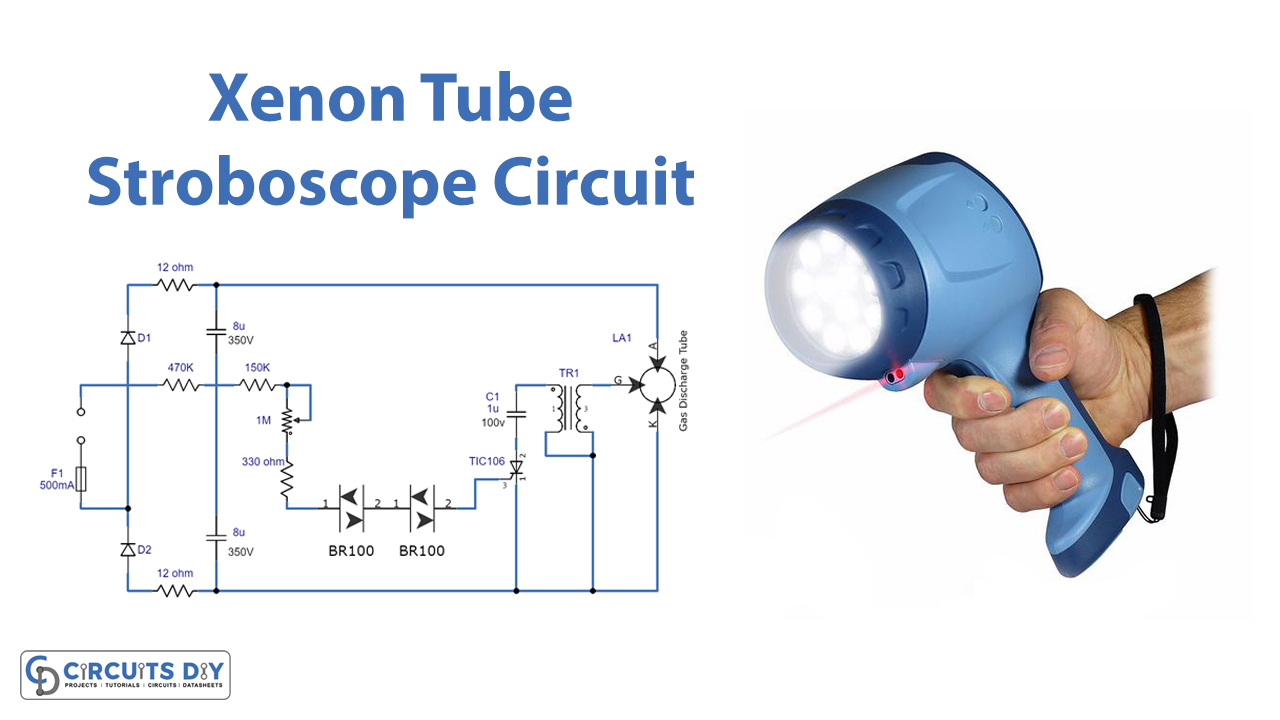
Introduction
In this article, we’ll walk you through building a high-powered stroboscope circuit using a xenon gas discharge tube. This circuit can produce a powerful flashing effect perfect for creating exciting light displays. We’ll discuss the circuit’s key components and provide detailed assembly instructions.
Understanding the Xenon Tube Stroboscope
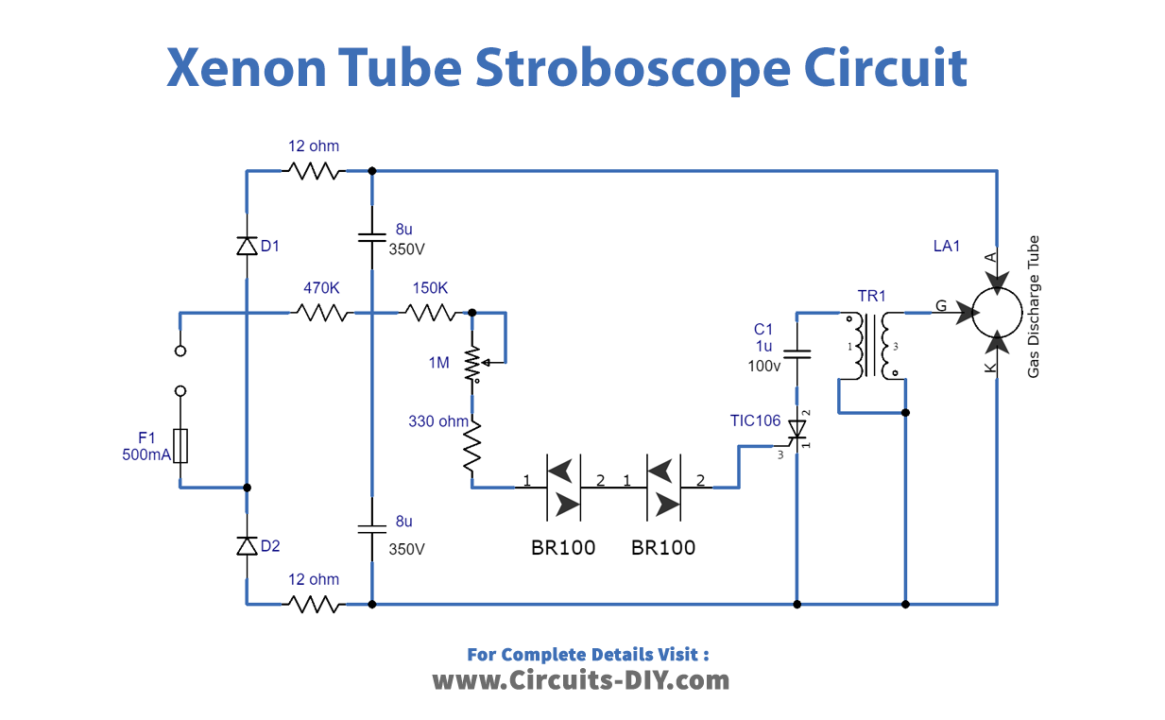
The xenon tube stroboscope is a popular lighting effect that uses a high-voltage xenon gas discharge tube to create an intense flashing effect. The tube is typically U-shaped and filled with xenon gas, one of the inert gases. The anode and cathode at either end of the tube and an ignition grid work together to create a pre-conducting current. The high voltage from the circuit triggers and lights up the tube, causing it to produce bright flashes of light.
Hardware Required
You will require the following hardware for Stroboscope Circuit.
| S.no | Components | Value | QTY |
|---|---|---|---|
| 1 | Transformer | – | 1 |
| 2 | Thyristor | TIC106D | 1 |
| 3 | Resistor | 470, 12, 150k, 330 | 1, 2, 1, 1 |
| 4 | Variable Resistor | 1M | 1 |
| 5 | Diode | 1N4007, BR100 | 2, 2 |
| 6 | Polar capacitor | 8uF | 2 |
| 7 | Non Polar Capacitor | 1uF | 1 |
| 8 | fuse | 500mA | 1 |
Building the Circuit
To build the circuit, you’ll need a few key components, including diodes, capacitors, and an ignition transformer. The circuit is designed to use mains 220V power, so be extremely careful when working with the circuit to avoid electric shock. The circuit uses a voltage doubler to boost the DC voltage to around 600V, which is then applied to the anode and cathode of the tube. A grid voltage of 5-10 kV is required to trigger and light up the tube generated by the ignition transformer.
The circuit uses a silicon-controlled rectifier to cut off the primary current and create a high voltage over the secondary. This causes the capacitor to discharge rapidly through the transformer, producing a high voltage in the secondary that triggers the xenon tube. The speed at which the capacitor charges is controlled by a preset resistor, which determines the triggering cycles of the tube.
Circuit Diagram
Safety Considerations
It’s important to exercise extreme caution when building and testing this circuit. The circuit is linked directly to the AC mains, which poses a severe safety risk. Make sure to use a nylon shaft for the preset resistor to avoid touching any metallic elements. Additionally, always use a current limiter resistor to prevent the fuse from burning out. Some capacitors may retain a lethal charge even after the device is unplugged from the mains. So handle the circuit carefully.
Conclusion
With a few key components and careful assembly, you can build a powerful xenon tube stroboscope circuit that produces a bright and exciting flashing effect. However, it’s essential to follow safety protocols and handle the circuit with extreme care to avoid electric shock.